

How to Prepare for Long-Distance + High-Altitude RVing
Getty Images
Peak travel season opens the way for ambitious travel. Here’s how to ensure you and your rig are ready.
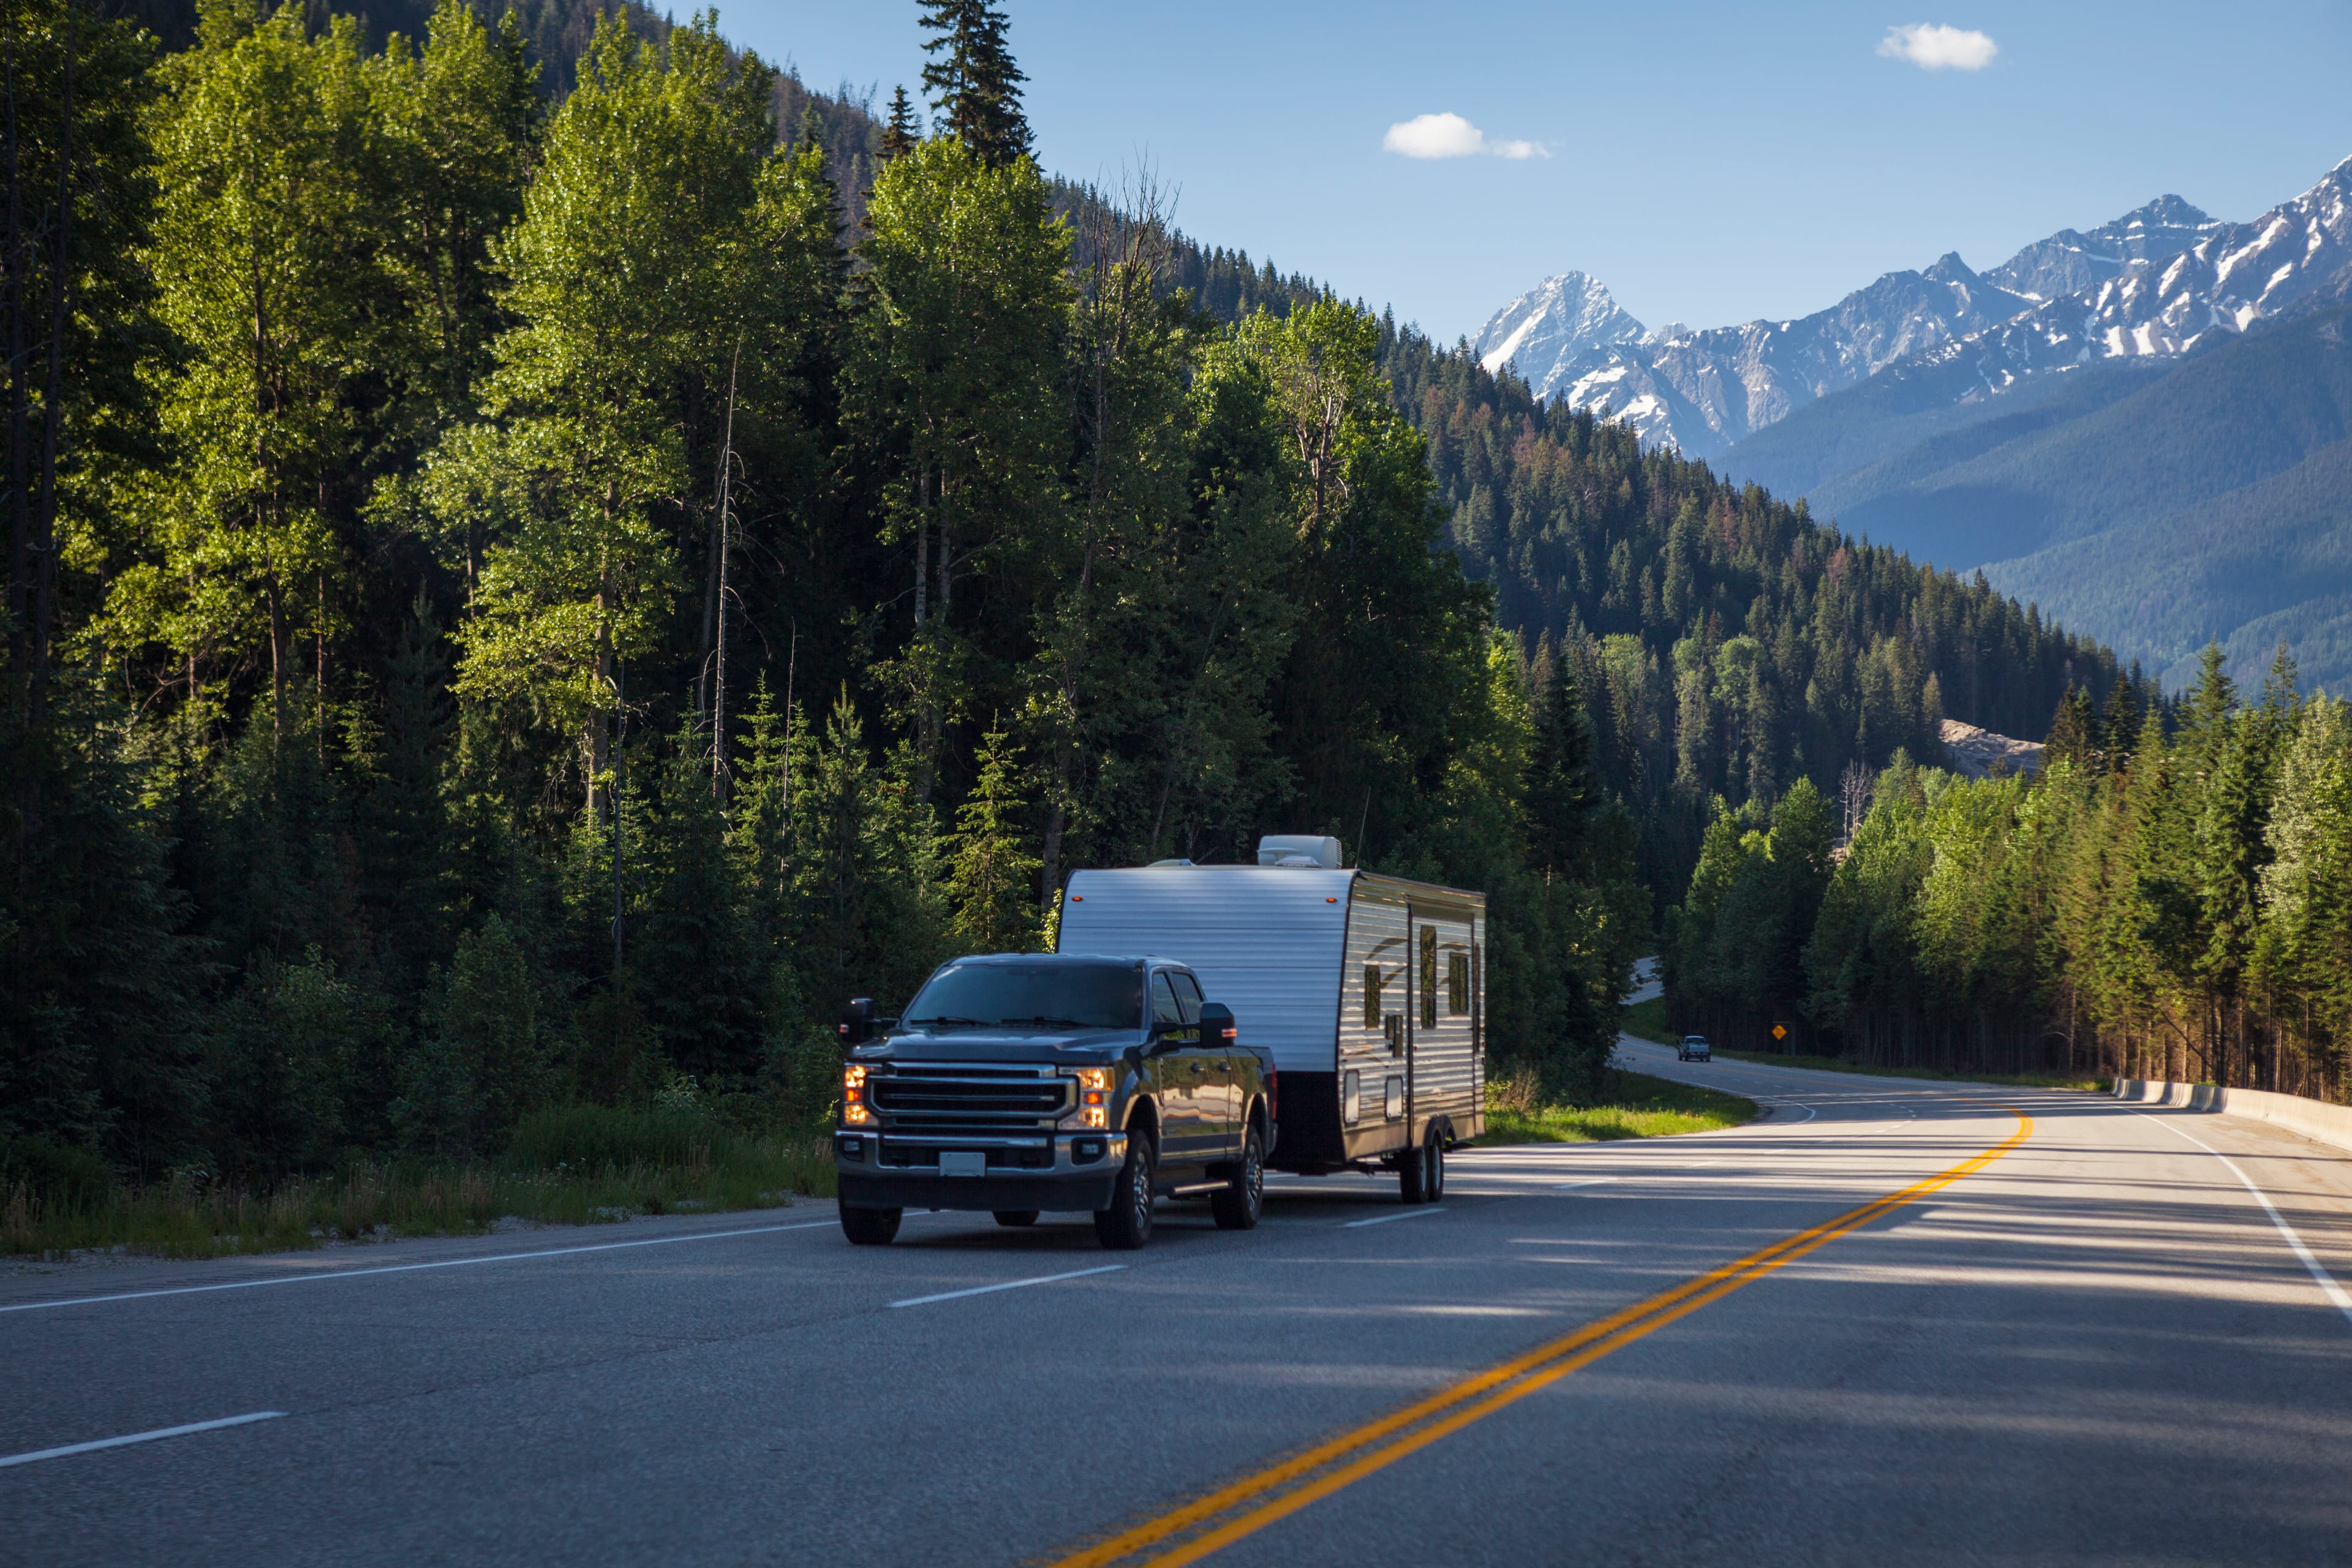
Getting your RV ready for peak travel season is about more than dusting it off and hitting the road. A thoughtful, step‑by‑step prep will keep you safer, far more comfortable all season and less likely to experience any breakdowns. That’s especially true if you’re planning long trips and drives across highland terrain—those views are memorable, but require some special RV know-how.
Long-Range RV Travel
Start with de‑winterizing and water systems.
If you winterized your RV (hopefully you did!), reverse those steps carefully. Flush all non‑toxic antifreeze from the freshwater lines by filling the fresh tank with potable water and running every faucet, shower and outside sprayer until the water runs clear. If you have an icemaker, service that too. Don’t forget to run water through the outside shower and low‑point drains, then drain and refill the freshwater tank with clean water.
Once the antifreeze is gone, sanitize the freshwater system. Mix a diluted household (chlorine) bleach solution (commonly around 1/4 cup bleach per 15 gallons, per your RV’s manual), pour it into the fresh tank, fill the tank with water, then run each faucet until you smell bleach. Let it sit several hours before flushing with fresh water until the odor is gone. Replace any water filter cartridges, then pressurize the system with the pump on and inspect under sinks, around the toilet and along visible plumbing for leaks. Test for pressure leaks by shutting off all taps and faucets and see if the water pump comes on intermittently. If it does, find the leak.
Check batteries, electrical and propane.
Your RV batteries may have discharged over winter, so test their voltage and recharge, test or replace as needed. Flooded-type lead-acid batteries should be topped up with distilled water as needed. A fully charged, 12‑volt conventional house battery should read about 12.6 volts at rest. Inspect battery terminals for corrosion, clean them and confirm the cables are tight and not frayed. If you removed batteries for storage, reinstall them securely and make sure venting is unobstructed.
Next, confirm your electrical systems are road ready. Test 120-volt AC shore‑power hookups, check your main breaker panel and fuses, making sure no fuses are blown, circuit breakers or GFCI units are tripped. Then verify that all outlets and interior lights work.
Check that propane cylinders are filled, open the valves slowly and test appliances like the stove, furnace, water heater and fridge on gas while monitoring for abnormal smells or flame behavior; have a pro address any suspected leaks immediately. It’s also a good idea to have a professional test propane pressure at appliances and verify the pressure regulator is working properly.
Inspect the smoke detector, carbon monoxide detector and propane detector. Replace batteries as needed. Check the fire extinguisher(s) for condition, age and state of charge (pressure gauge).
Inspect tires, chassis and exterior.
Seasonal heat is hard on tires, so give them careful attention before your first trip. Check cold tire pressure on all tires—including the spare—and inflate to the manufacturer’s recommended pressures on the data plate or by using a Load Inflation chart using actual measured scale weight fully loaded. Pressures molded into tire sidewalls are maximum recommended pressures, not operating pressures. Look for sidewall cracks, bulges or dry rot, and verify the tires aren’t past their typical six‑year service life, even if the tread looks good. Tire sidewalls have date stamps. Look for the last four digits after the DOT marking. The last two digits are the year, and the two before that are the calendar week. For example 5225 would denote the 52nd week of 2025. Torque lug nuts to spec and, if your rig requires it, ensure wheel bearings and suspension components are serviced on schedule. Annual wheel bearing inspection is a good idea. There are also aftermarket kits for adding grease fittings to spring shackles.
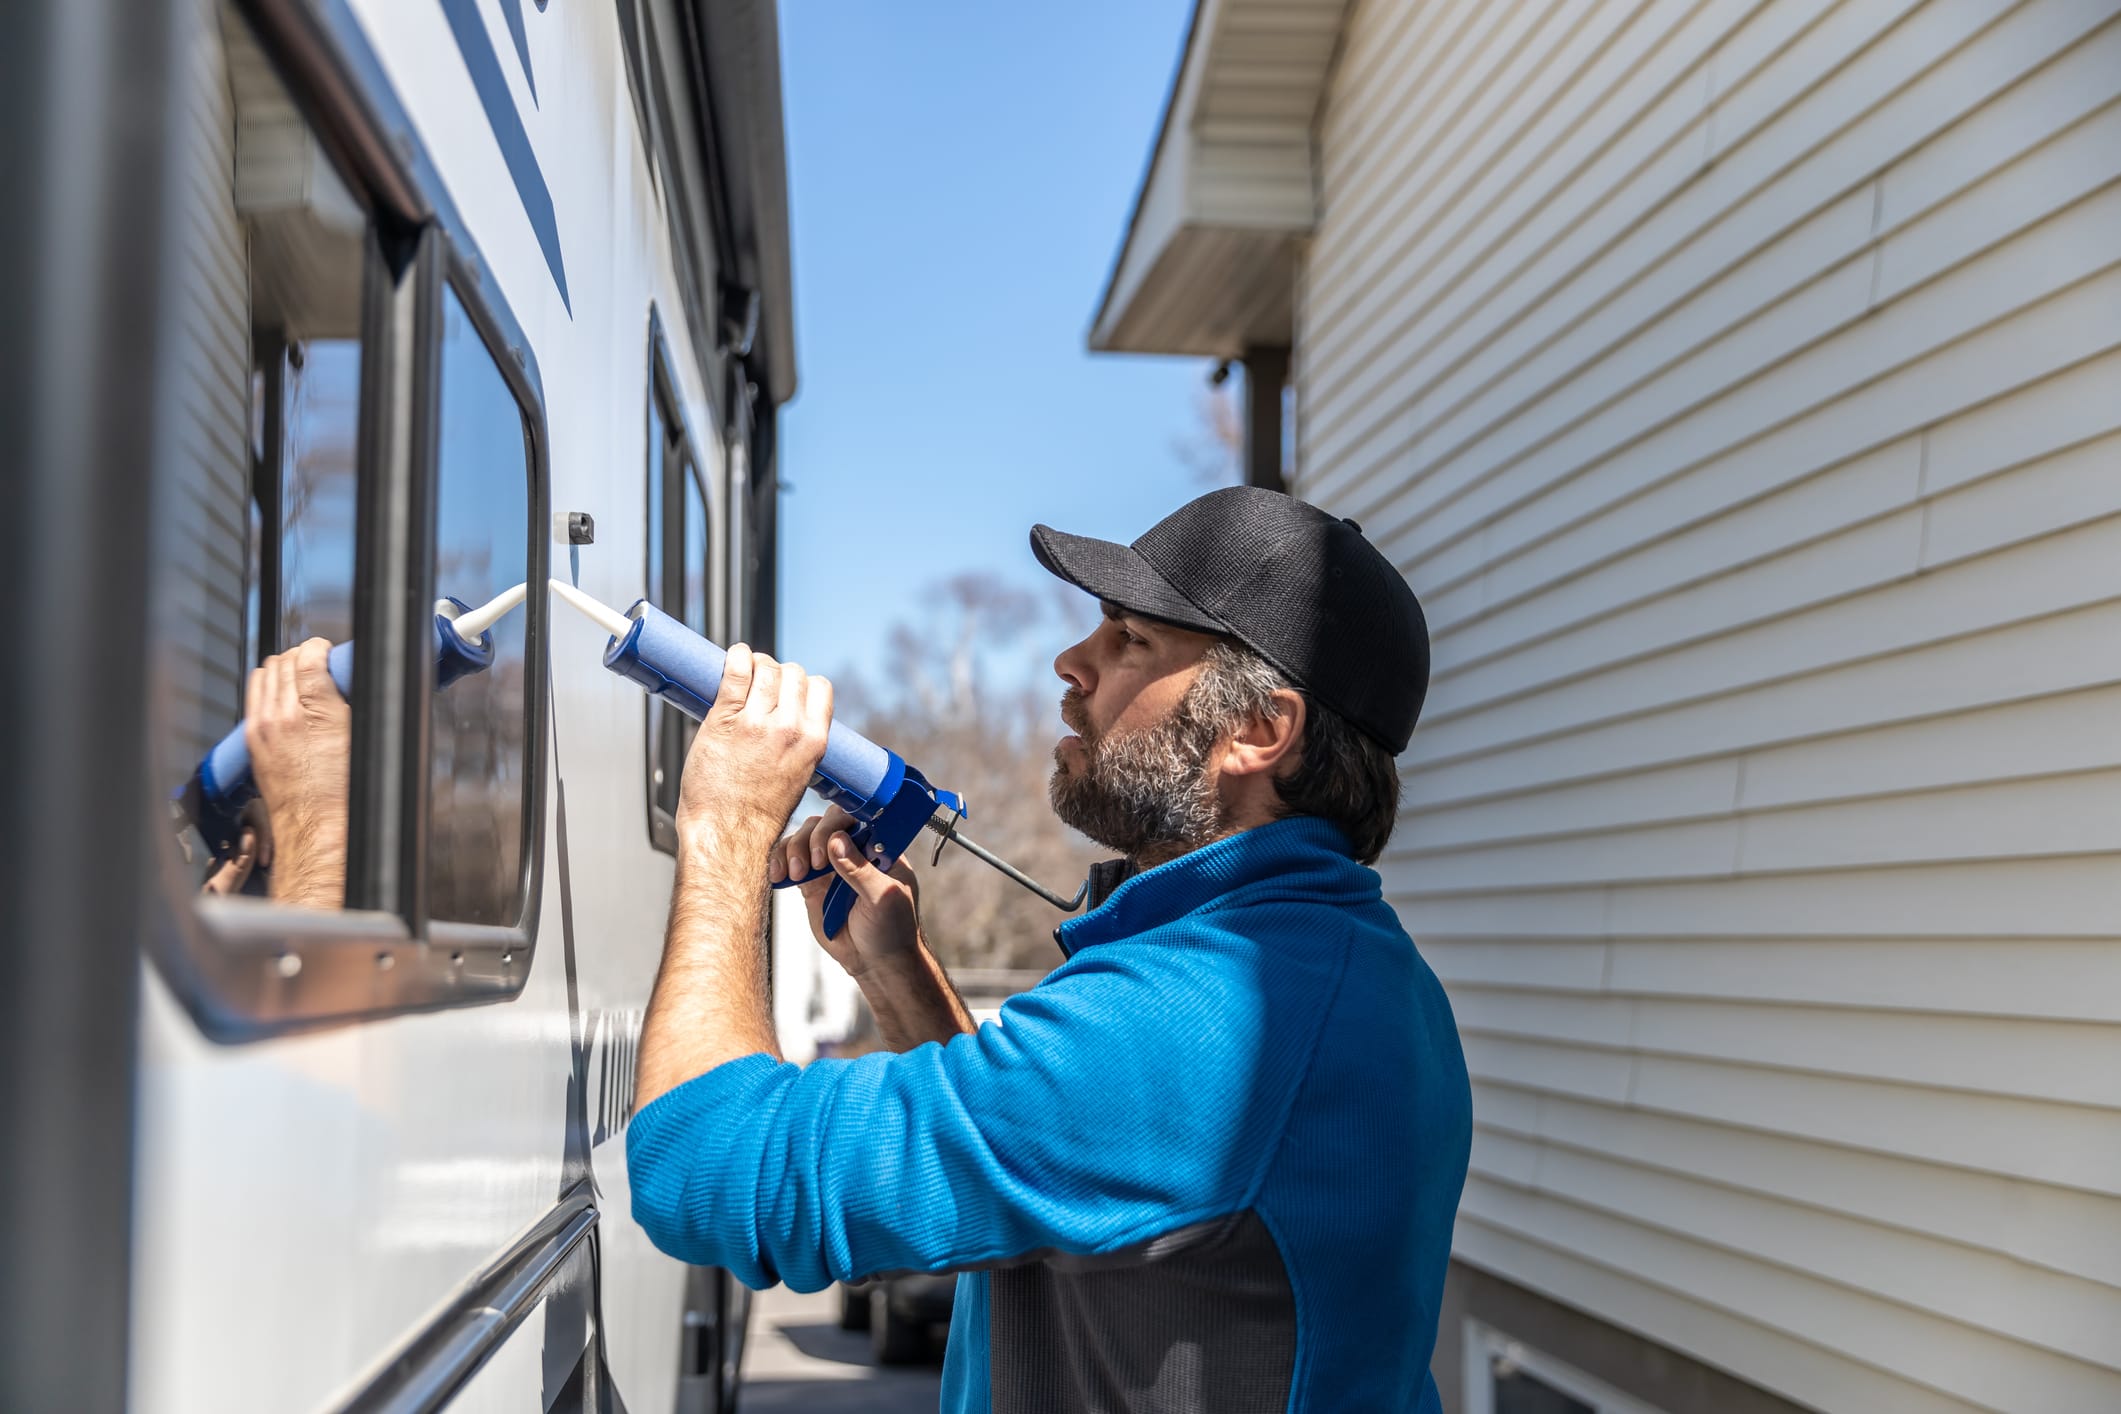
Walk the exterior slowly and look up. Inspect the roof, seams and any penetrations (vents, skylights, antennas, A/C shrouds) for cracks, damage or gaps in sealant; repair or reseal to prevent leaks. Check all window, door and compartment seals and weatherstripping, then lubricate locks with special lube designed for the job. Next open and inspect awnings for tears, mold and proper operation. Operate any slide-out rooms, lubricate tracks using a lube recommended by the slideout mechanism manufacturer. Spray the weather seals with a protectant designed for this purpose. Finish with a thorough wash and a UV‑protective wax to help the finish stand up to strong summer sun.
Leaky roofs are responsible for many of the costliest RV repairs. Up on the roof, carefully inspect for cracks, damage, dried out sealants around seams and vents, air conditioner seals, etc. Repair as needed. If you don’t feel comfortable or safe doing this, take the RV to a shop.
Service cooling, ventilation and interior.
Your air conditioner and ventilation system are critical for summer comfort. Clean or replace A/C filters and vacuum return grills, then inspect and clean condenser and evaporator coils per the unit’s instructions. Run the A/C on shore power to confirm it cools effectively and that the fan runs smoothly without unusual noises. Check roof vents and fans, clean blades and screens, and make sure they open, close and exhaust air freely to help your RV exchange air and shed heat.
Check exterior vents for the furnace and water heater and refrigerator for any insect nests, etc. Mud dauber nests are especially difficult to remove and can totally block appliances from working.
If your RV has a generator, it’s probably due for an annual service. This typically includes an oil and filter change, fuel filter replacement and air filter inspection or replacement. If it was left unused for many months, gasoline or diesel fuel may have deteriorated (propane units typically don’t have this problem). In some cases the engine may refuse to start. A technician may be needed to clean out the fuel system. After servicing, run the generator for at least 20–30 minutes under load to ensure it starts reliably and powers appliances. Run with a moderate load such as an air conditioner.
Inside, give the living space a deep clean and check all appliances. Vacuum carpets, wipe hard surfaces and clean upholstery to remove winter dust and musty smells. Test the refrigerator on both electric and propane if it’s a dual‑fuel unit, run the stove and oven briefly, and confirm the furnace and water heater cycle on and off correctly. Open cabinets and storage bays to look for water stains or signs of pests and replace air filters for any onboard HVAC components to keep air quality high.
Plan for heat and the first shakedown trip
Test all lighting on your tow vehicle and trailer, or your motorhome and dinghy vehicle or tow behind. Don’t wait until everyone is packed up and ready to go, do it ahead of time.
Before setting out on a long journey in hot weather, take a short shakedown trip close to home or stay a night in a nearby campground. This lets you test all systems under real‑world conditions and spot issues while help and parts are still within easy reach. Pay attention to how well the A/C keeps up, whether any leaks appear underneath, and how comfortably the rig handles highway speeds, handling and braking.
Apply grease to the hitch ball or fifth-wheel saddle and mechanism. Test the latching and release mechanism. Finally, think about heat management. Use reflective or insulating window shades, park so the refrigerator side avoids direct afternoon sun, and favor shaded campsites when possible. Add a portable fan or two for extra airflow, and use roof‑vent covers so you can leave vents open for ventilation even if rain threatens. With these steps done before summer, your RV will be cleaner, safer, and far more enjoyable, no matter how far you’re going.
High-Altitude RV Travel
RVers heading to high altitudes should prepare both their rigs and their bodies for the changes. Arrive gradually if possible, slow down your pace, and prepare your RV and yourself for thinner air, steeper roads, and fast-changing weather.
Helpful rules of thumb are that air density decreases 3 percent for each 1,000 feet of elevation gain and temperatures drop about 3.5 degrees F. for each 1,000 feet of elevation gain. So for example, traveling from sea level to 10,000 feet altitude, you can expect a loss of 30% engine power (unless turbocharged or supercharged) and a temperature drop of possibly 35 degrees F. At high elevations freezing temperatures are a possibility even in summer, particularly at night, so be prepared!
Prepare your rig.
Before you go, ensure that vehicle fluid levels are correct and brakes are in good shape. Adjust tire pressures when cold. As you ascend pressures will increase and they will go down as you descend. Climbing to high altitude may result in engine coolant being expelled from the radiator into the overflow container.
Bring extra drinking water and fill your freshwater tank if boondocking, because dehydration occurs faster at elevation. Pack layered clothing, warm blankets and rain gear; mountain weather can change radically in hours. Bring a well-stocked emergency kit with first-aid items (include altitude meds if prescribed), extra food, tools, headlamps and a tire repair kit with tire gauge and 12-volt electric compressor.
If possible, spend a night at mid‑elevations (around 4,000–6,000 feet) before going very high to start acclimating. On arrival, take it easy for at least the first day or two; avoid heavy exertion, long hikes or big climbs. As a former wilderness EMT on a mountain search and rescue team, I’ve seen all these problems and more. Drink more water than usual and consider electrolytes; thirst at altitude often means you’re already behind. Watch for altitude sickness (headache, nausea, dizziness, unusual shortness of breath). If symptoms worsen, rest, hydrate, and if needed, go to a lower elevation. Use sunscreen and sunglasses—UV exposure is stronger at elevation and increases sunburn risk.
Get comfortable with mountain driving and monitor your rig for overexertion.
Take breaks on long climbs to cool the engine if you notice coolant temperature rising. Use lower gears on long descents to protect brakes from overheating; don’t ride the brakes continuously and pull over to allow them to cool as needed. Fill up with fuel before starting upward. Steep grades and thinner air reduce power and increase fuel consumption, and filling stations may be far apart.
Plan and pack for camping at high-elevation.
Expect colder nights even in summer; close windows at night and bring appropriate sleeping bags or blankets. Engines and generators can lose significant percentages of power at higher elevations because of the thinner air. Some generators have altitude adjustments you should set per the manual. Carbureted engines will run “richer” at high elevations and may produce black exhaust smoke and foul spark plugs.
Propane appliances (furnaces, water heaters, refrigerators and propane gensets) run less efficiently and take longer to operate, heat water or cook food. Refer to owners manuals ahead of time for specific instructions for coping with high elevations.
Monitor battery usage closely, especially if you’re running the furnace a lot on cold nights, as blowers draw significant power. Carry extra propane if you’ll be in cold, high areas.
More Spring RV Travel Stories
Check out the full March 2026 Digital Issue of Wildsam Magazine.